Step One
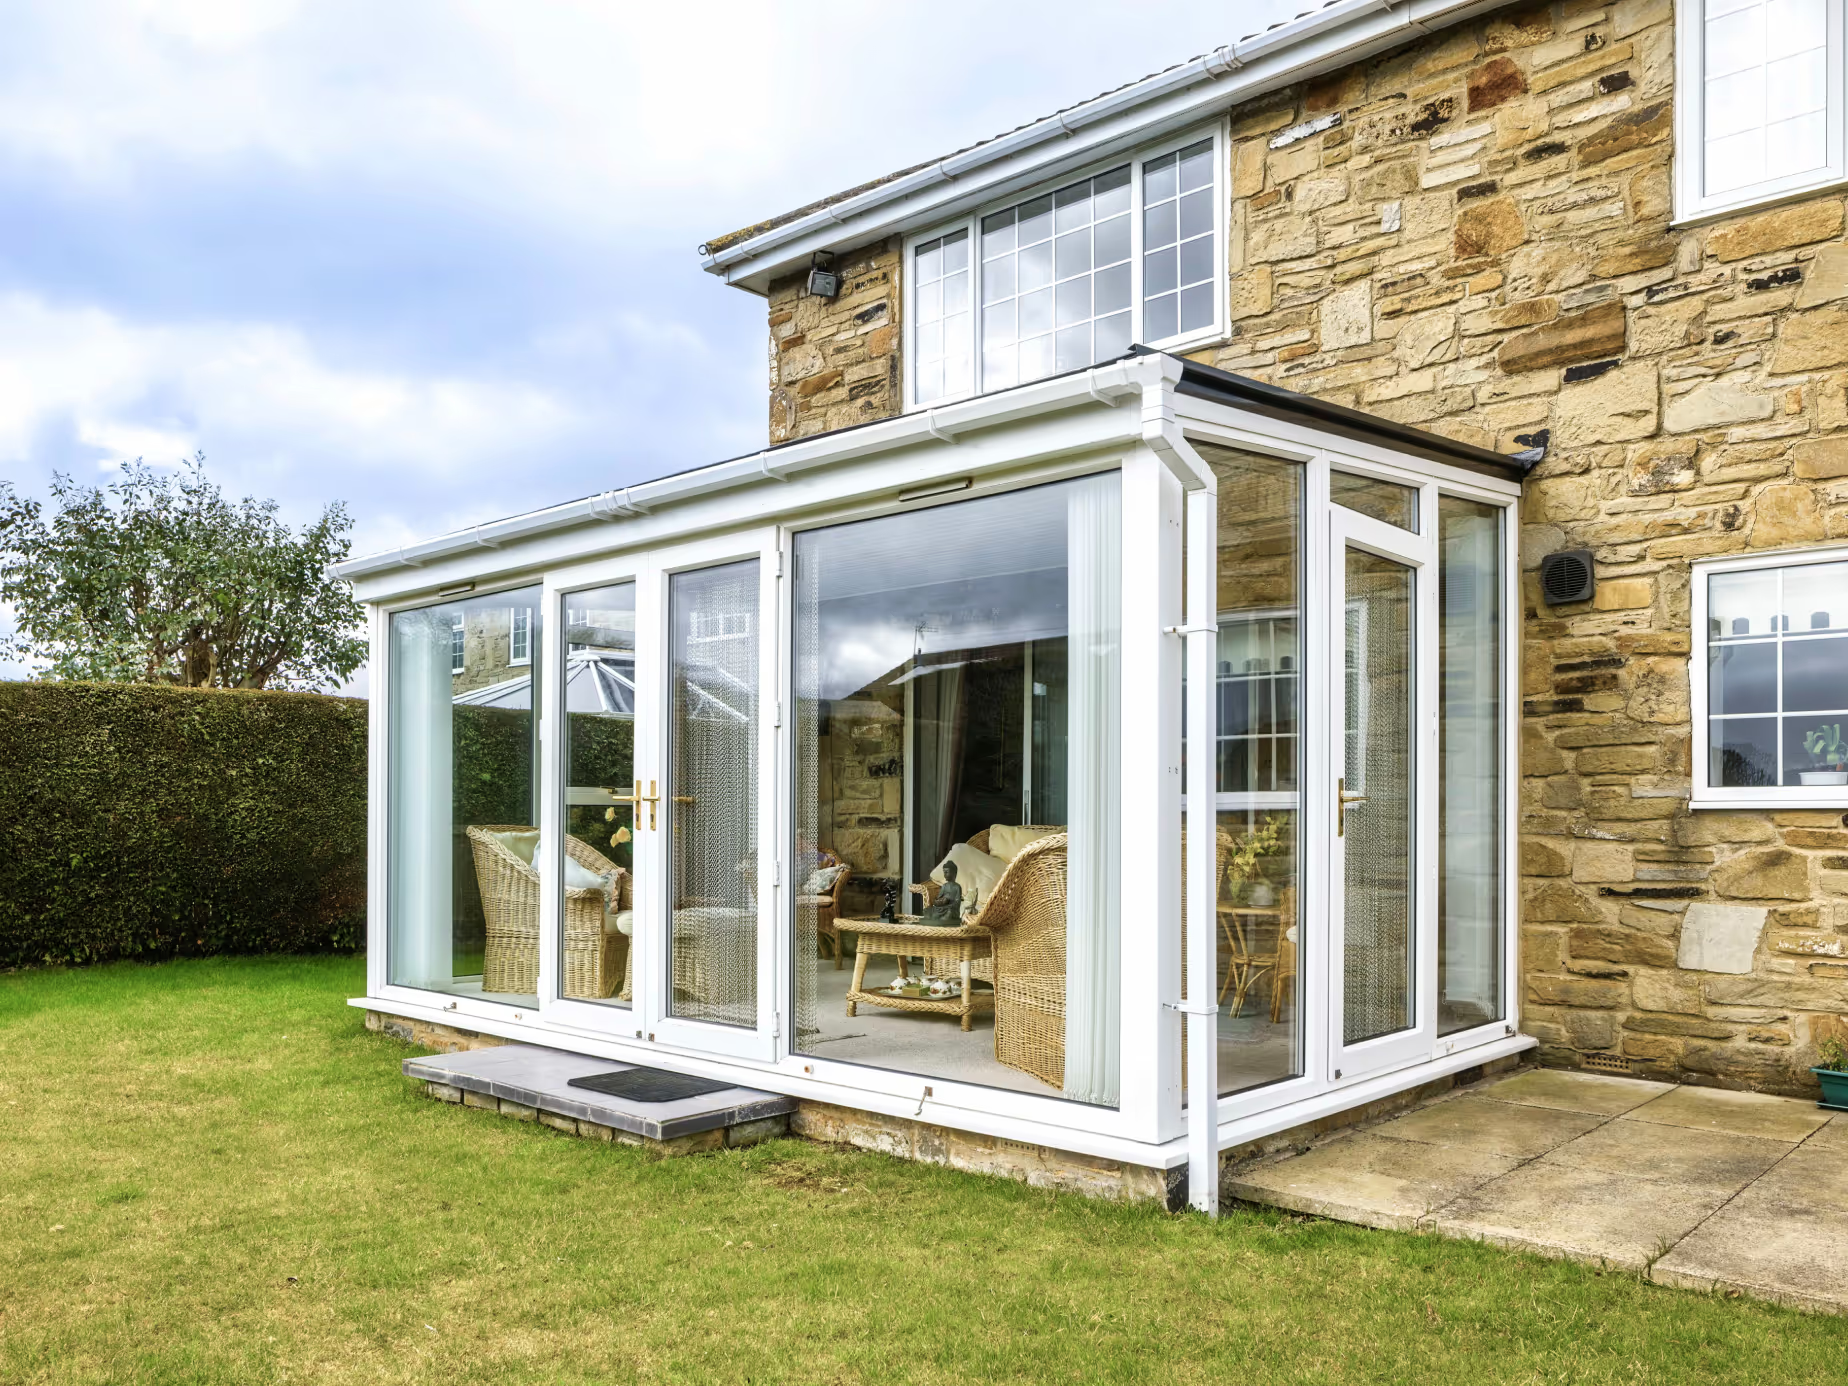
When we visit to assess your conservatory, we take the time to understand both the space and your needs. We'll carry out a full site survey, taking accurate measurements and discussing in detail how you’d like to use your conservatory , whether that’s for year-round living, a home office, a playroom, or simply a more comfortable space to relax. Once we’ve established what you want to achieve, we’ll explain your options clearly and talk you through the best solution for your home. If you’re happy to go ahead, we’ll then arrange an installation date that works for you.

Step Two
Time to get to work! We began by removing the existing ceiling fan and light fitting to clear the space. Next, we installed high-performance insulation designed to retain heat during the colder months, making the space far more energy efficient. Our electrician also got started on fitting the necessary cabling for the new spotlights, ensuring everything is ready for the final installation.In this particular project, we installed our PVC ceiling finish, a cost-effective option that’s perfect for those who are budget-conscious but still want a clean, modern look. We also offer a premium plastered ceiling finish for a more traditional feel, as well as a fully tiled roof option for those looking to go all-in on insulation and visual transformation. Whatever your needs, we’ve got a solution to suit.

Step Three
Once the timber framework was in place, we began fitting the PVC cladding, creating a clean, modern ceiling that instantly refreshed the look of the conservatory. As part of the upgrade, the old ceiling fan was removed, making way for a more streamlined and practical lighting setup. We installed a set of integrated LED spotlights, which not only brighten the space beautifully but also add a touch of contemporary style. A range of LED lighting options is available, so you can choose the look and feel that best suits your home. The end result is a lighter, more comfortable space that feels like a true extension of the home.


.png)


